The iPhone camera is an incredible tool for photography enthusiasts. With a few tweaks, you can unlock its full potential and capture stunning shots. Top 5 iPhone Camera Settings that will elevate your photography, along with inspiring quotes to spark your creativity.
Table of Contents
Fact
The iPhone camera is a favorite among mobile photography enthusiasts, known for its sharp details, beautiful tones, and exceptional quality. With just a few simple adjustments, you can take your photos to the next level. Apple has some hidden settings that can transform your shots, and here are five easy tips to unlock their full potential!
Let’s explore 5 iPhone Camera Settings
1. Shoot in RAW for Maximum Flexibility
Shooting in RAW gives you the freedom to edit your photos with precision, just like professional photographers. With Apple ProRAW, you can retain all the details and adjust exposure, white balance, and colors without losing quality.
Steps to Enable and Use ProRAW:
- Go to Settings > Camera > Formats.
- Enable Apple ProRAW under the Photo Capture section.
- Open the Camera app and tap the RAW icon to activate the feature.
“A good photograph is knowing where to stand.” – Ansel Adams
Pro Tip: Use the 48 MP resolution on iPhone 14 Pro or later for more detailed and crop-friendly images. However, be mindful of storage space as RAW files are larger than JPEGs.
2. Fine-Tune Exposure for Better Lighting
Lighting is the soul of photography, and adjusting exposure manually can make your photos stand out. Whether you’re shooting in bright sunlight or a dimly lit room, controlling exposure ensures your images are perfectly balanced.
How to Adjust Exposure:
- Open the Camera app and tap your subject to focus.
- Drag the sun icon slider up to brighten or down to darken the image.
- For iPhone 16 models, double-tap the Camera Control option, select Exposure, and adjust it for precise results.
“In photography, there is a reality so subtle that it becomes more real than reality.” – Alfred Stieglitz
Pro Tip: Lock the exposure and focus by holding down the focus point until AE/AF Lock appears. This ensures consistency across multiple shots.
3. Master Macro Mode for Close-Up Shots
Macro photography allows you to capture the intricate details of small subjects, from the veins of a leaf to the texture of a fabric. With the iPhone’s Macro Mode, you can get incredibly close to your subject while maintaining sharpness.
Steps to Use Macro Control:
- Move your iPhone as close as 2-3 cm to the subject.
- Look for the macro icon (a flower) on the screen. Tap it to toggle automatic macro switching on or off.
- If needed, manually switch to the ultra-wide lens by tapping 0.5x for enhanced control.
“The details are not the details. They make the design.” – Charles Eames
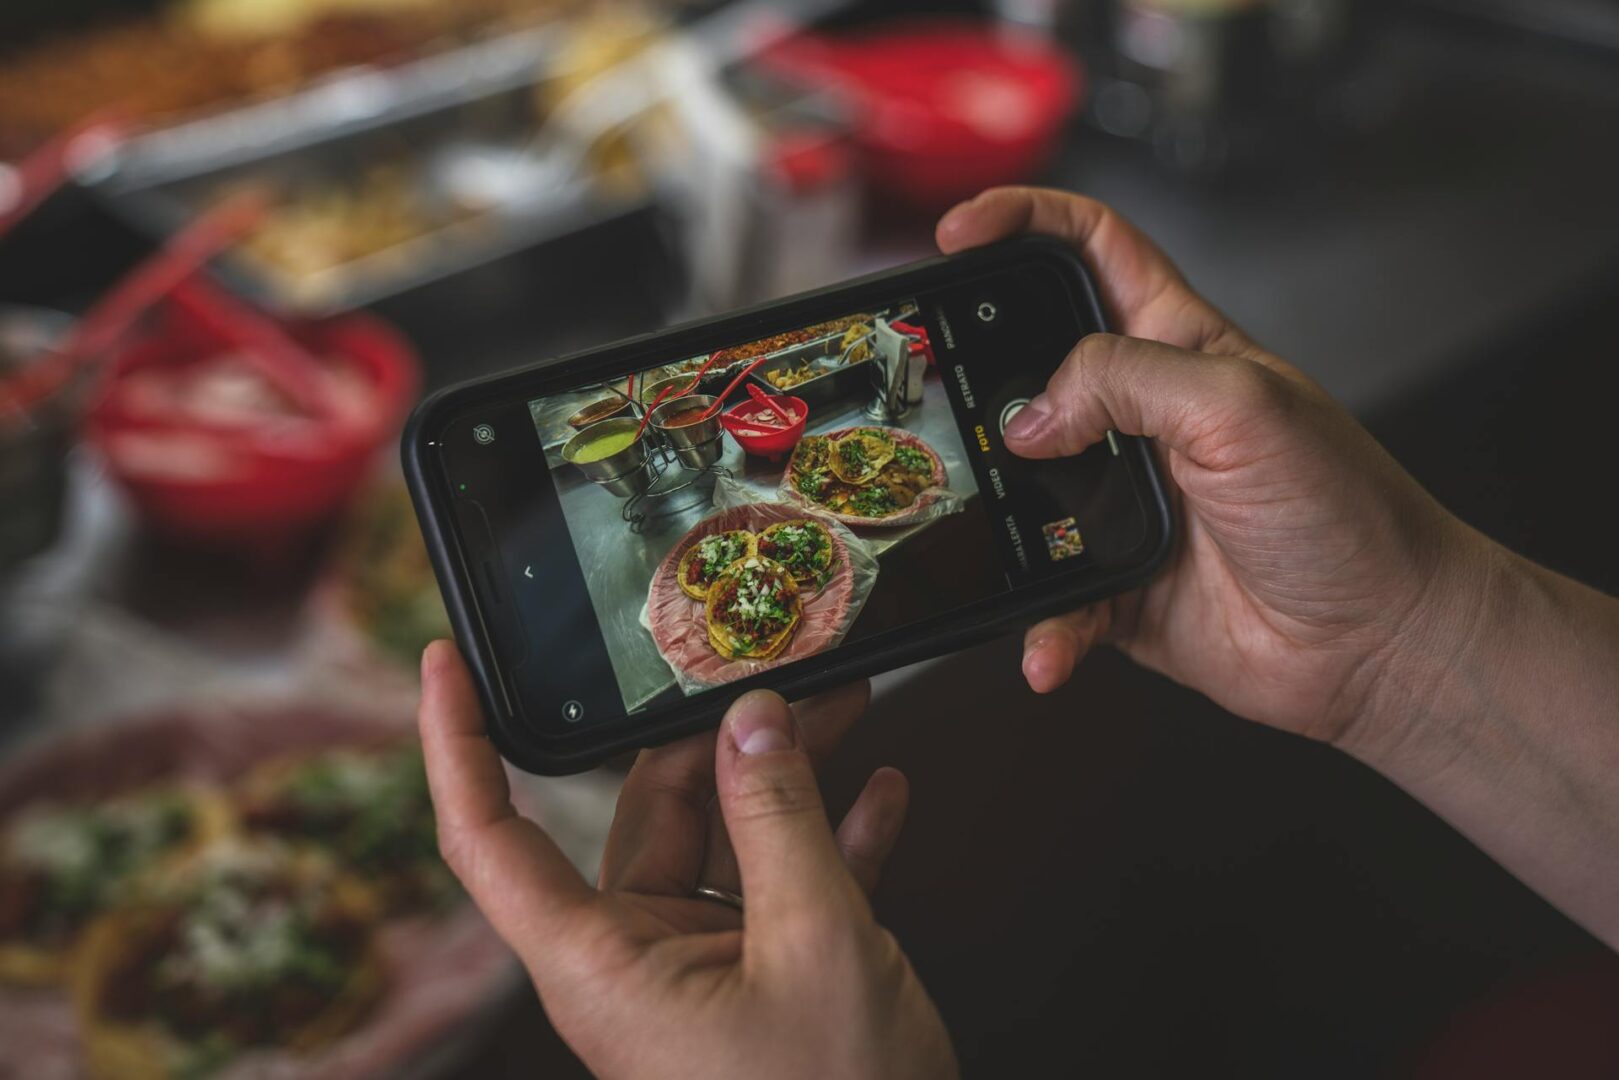
Pro Tip: Good lighting is essential for macro shots. Experiment with natural light or a small LED light to highlight textures and details.
4. Preserve Your Favorite Camera Settings
Switching between camera modes and reapplying filters can be frustrating, especially when you’re in a hurry. The Preserve Settings feature ensures that your preferred configurations remain intact every time you open the Camera app.
How to Enable Preserve Settings:
- Go to Settings > Camera > Preserve Settings.
- Toggle options like Camera Mode, Filter, or Live Photo to save them.
“The best camera is the one you have with you.” – Chase Jarvis
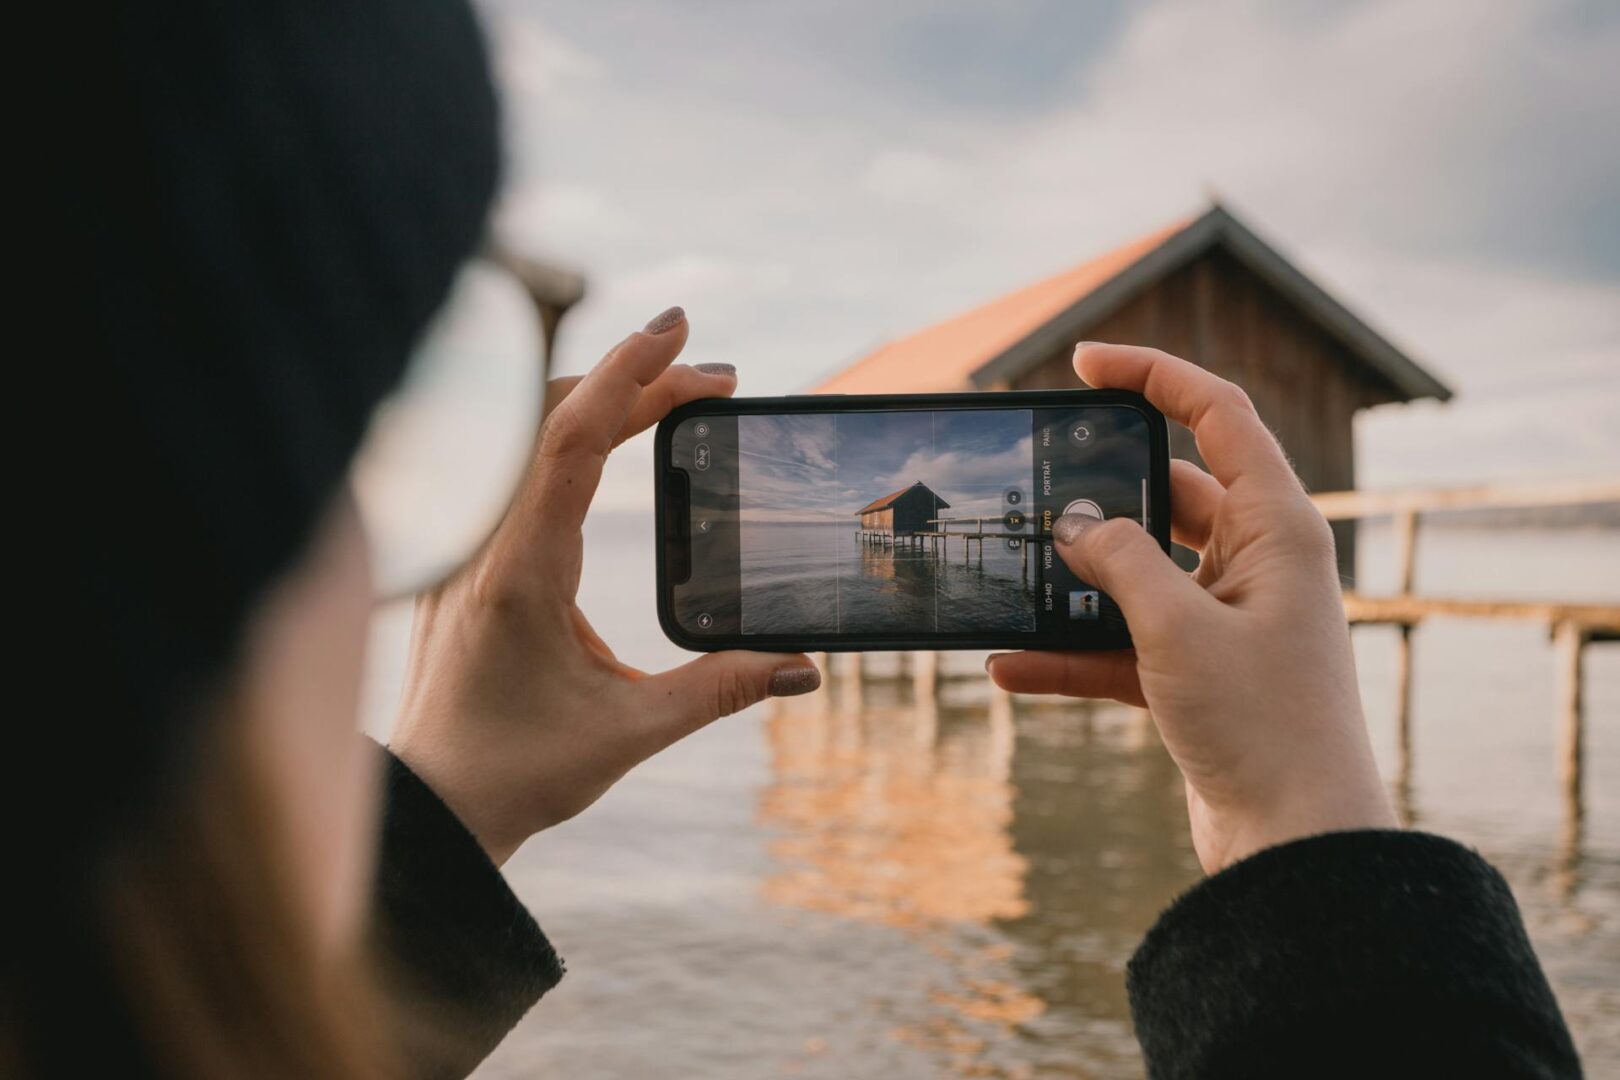
Pro Tip: This feature is particularly useful for frequent travelers or event photographers who switch between modes like Portrait, Video, or Pano.
5. Leverage Camera Controls (iPhone 16 Exclusive)
The Camera Controls feature on iPhone 16 makes it easy to adjust settings like HDR, focus, or file type on the fly. This tool is perfect for users who want quick access to advanced features without diving into menus.
How to Use Camera Controls:
- Open the Camera app and tap the Camera Control button.
- Double-tap to access settings like exposure, zoom, or HDR.
- Swipe and fine-tune your preferred settings, which are saved for future use.
Customizing Camera Controls:
- Go to Settings > Camera > Camera Control to choose single or double taps for quick access.
- Adjust sensitivity and tap speed in Settings > Accessibility > Camera Control for a personalized experience.
“You don’t take a photograph, you make it.” – Ansel Adams
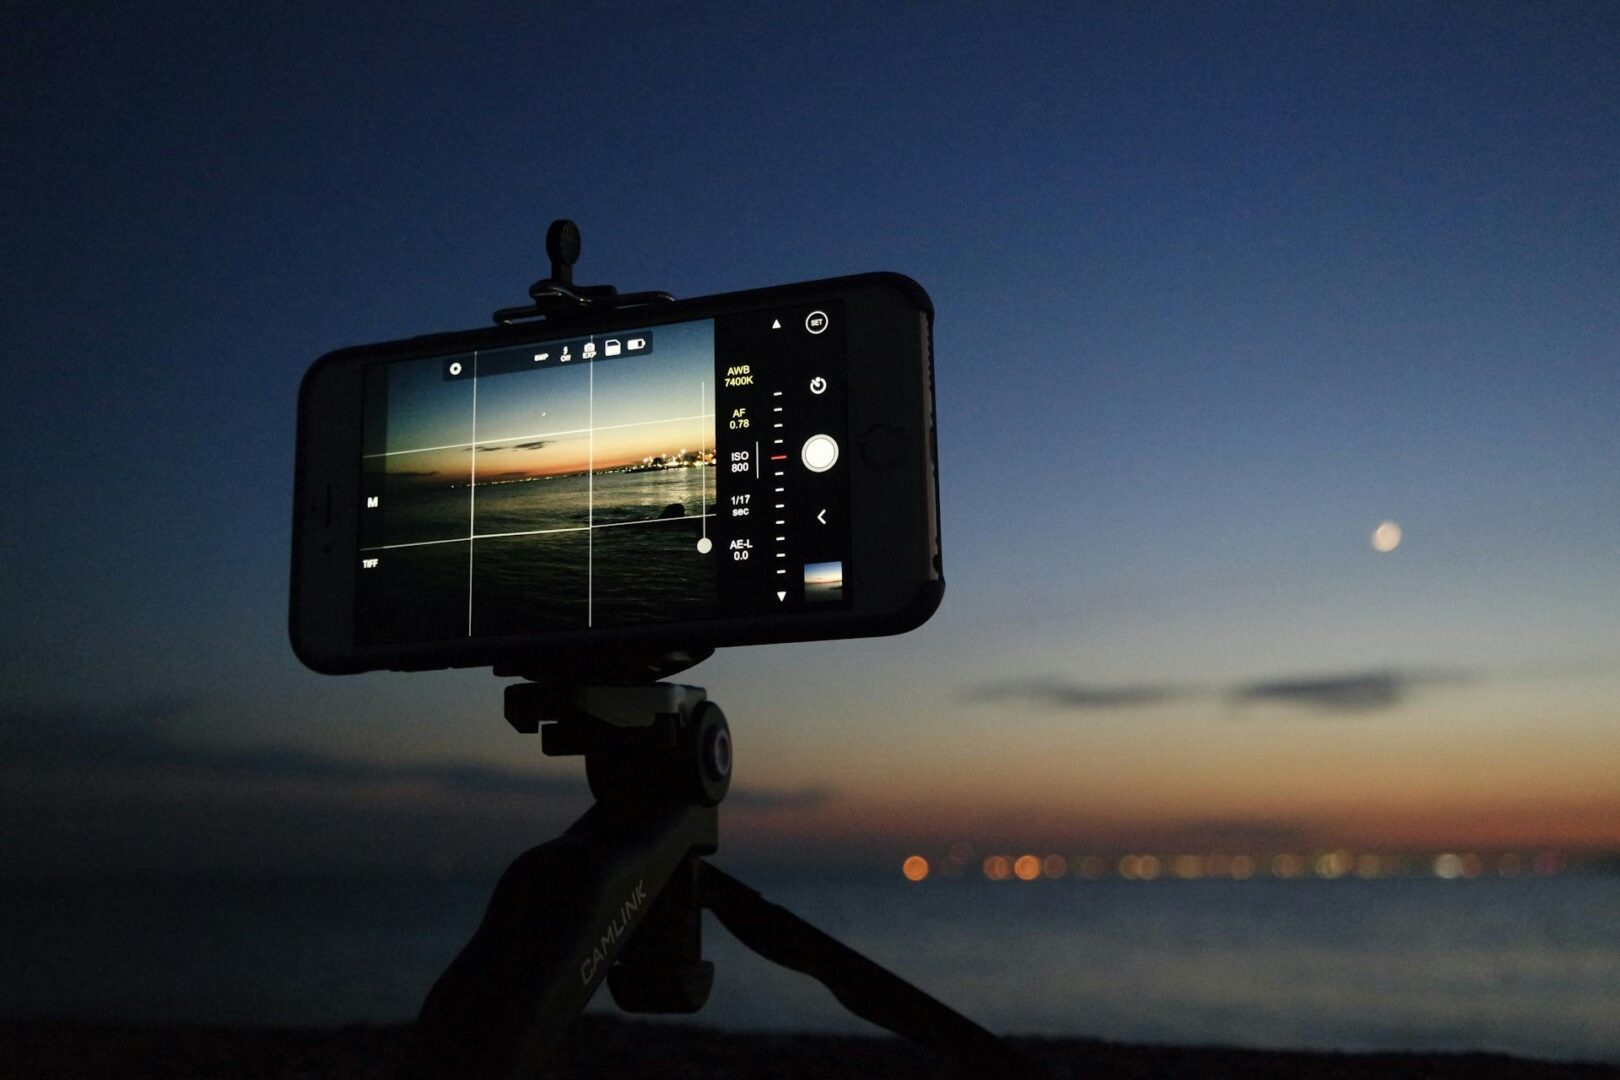
Pro Tip: Combine Camera Controls with other settings like ProRAW or Macro for a fully customized shooting experience.
Bonus Tip: Use Grid Lines for Perfect Composition
Turn on grid lines in your camera settings to apply the Rule of Thirds, a basic principle of composition that helps balance your shots. This ensures your subject is framed beautifully, creating visually pleasing images.
How to Enable Grid Lines:
- Go to Settings > Camera.
- Toggle on Grid.
“A photograph is the pause button of life.” – Ty Holland
By mastering these Top 5 iPhone Camera Settings, you can elevate your photography skills and capture breathtaking images. Whether you’re shooting portraits, landscapes, or close-ups, these settings will ensure your photos look polished and professional. Start experimenting today and let your creativity shine!

